> For the complete documentation index, see [llms.txt](https://docs.eyepop.ai/developer-documentation/llms.txt). Markdown versions of documentation pages are available by appending `.md` to page URLs; this page is available as [Markdown](https://docs.eyepop.ai/developer-documentation/train-your-own-model/preparing-and-uploading-data.md).
# Preparing & Uploading Data
Collect, format, and upload the images your model learns from
### Overview
A good place to start when creating and training a new model is with a dataset containing at least **200 images** — the console counts your uploads toward 200 and recommends starting there. Include diverse lighting, angles, and contexts for real-world applicability. The dataset should also include **negative images**. Negative images do not include the target object, and are helpful to reduce false positives in your trained model. Aim for roughly 80% of images showing your object and 20% negative images.
{% hint style="info" %}
### (Classification / Auto-Tag Models Only)
### Tip: Prelabel Images by Folder Name
If your images are organized into folders named after their class labels (e.g., `cat/`, `dog/`, `car/`), you can **drag and drop the folders directly** into the upload interface to have the images **automatically pre-tagged** with the corresponding class.
For example:
```
training_images/
├── cat/
│ ├── image1.jpg
│ └── image2.jpg
├── dog/
│ └── image3.jpg
```
When you upload this structure:
* All images inside `cat/` will be automatically tagged with the `"cat"` class
* All images inside `dog/` will be tagged with `"dog"`
This saves time and ensures consistent labeling during dataset creation.
**Note:** This feature works best when folder names exactly match your intended class names.
{% endhint %}
### What Are Negative Images?
**Negative images** are photos that do NOT contain your target object. These images are crucial for training your model to distinguish between what you want to detect and what you don't.
#### Why Use Negative Images?
* **Reduce false positives**: Help your model learn what NOT to classify as your target object
* **Improve accuracy**: Train the model to be more discriminating
* **Handle similar objects**: Teach the model to distinguish between similar-looking items
#### Examples of Negative Images:
* If training a door detection model: Include images of windows, archways, or openings that are NOT doors
* If training a car detection model: Include images of trucks, motorcycles, or street scenes without cars
* If training a person detection model: Include images of mannequins, statues, or scenes without people
### How to Organize Your Dataset
#### Folder Structure
Organize your images into clear folder structures before uploading:
```
your-dataset/
├── positive-images/
│ ├── door_001.jpg
│ ├── door_002.jpg
│ └── ... (400 images of doors)
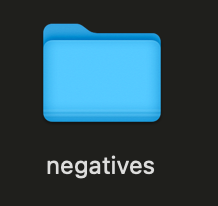
└── negatives/
├── window_001.jpg
├── archway_001.jpg
└── ... (100 images without doors)
```
This layout is just for keeping track of your own files — folder names are not sent when you upload. What makes an image a negative is that you **approve** it during review with no boxes drawn on it. Images you leave unreviewed or reject are excluded from training entirely.
### How to Upload Negative Images
#### Step-by-Step Process:
1. **Prepare your negative images folder**
* Gather them somewhere separate so you can tell them apart from your positives
* Add approximately 100 images that do NOT contain your target object
* Ensure images show similar contexts or potentially confusing objects
2. **Check that each image is one you want**
3. **Navigate to the upload interface**
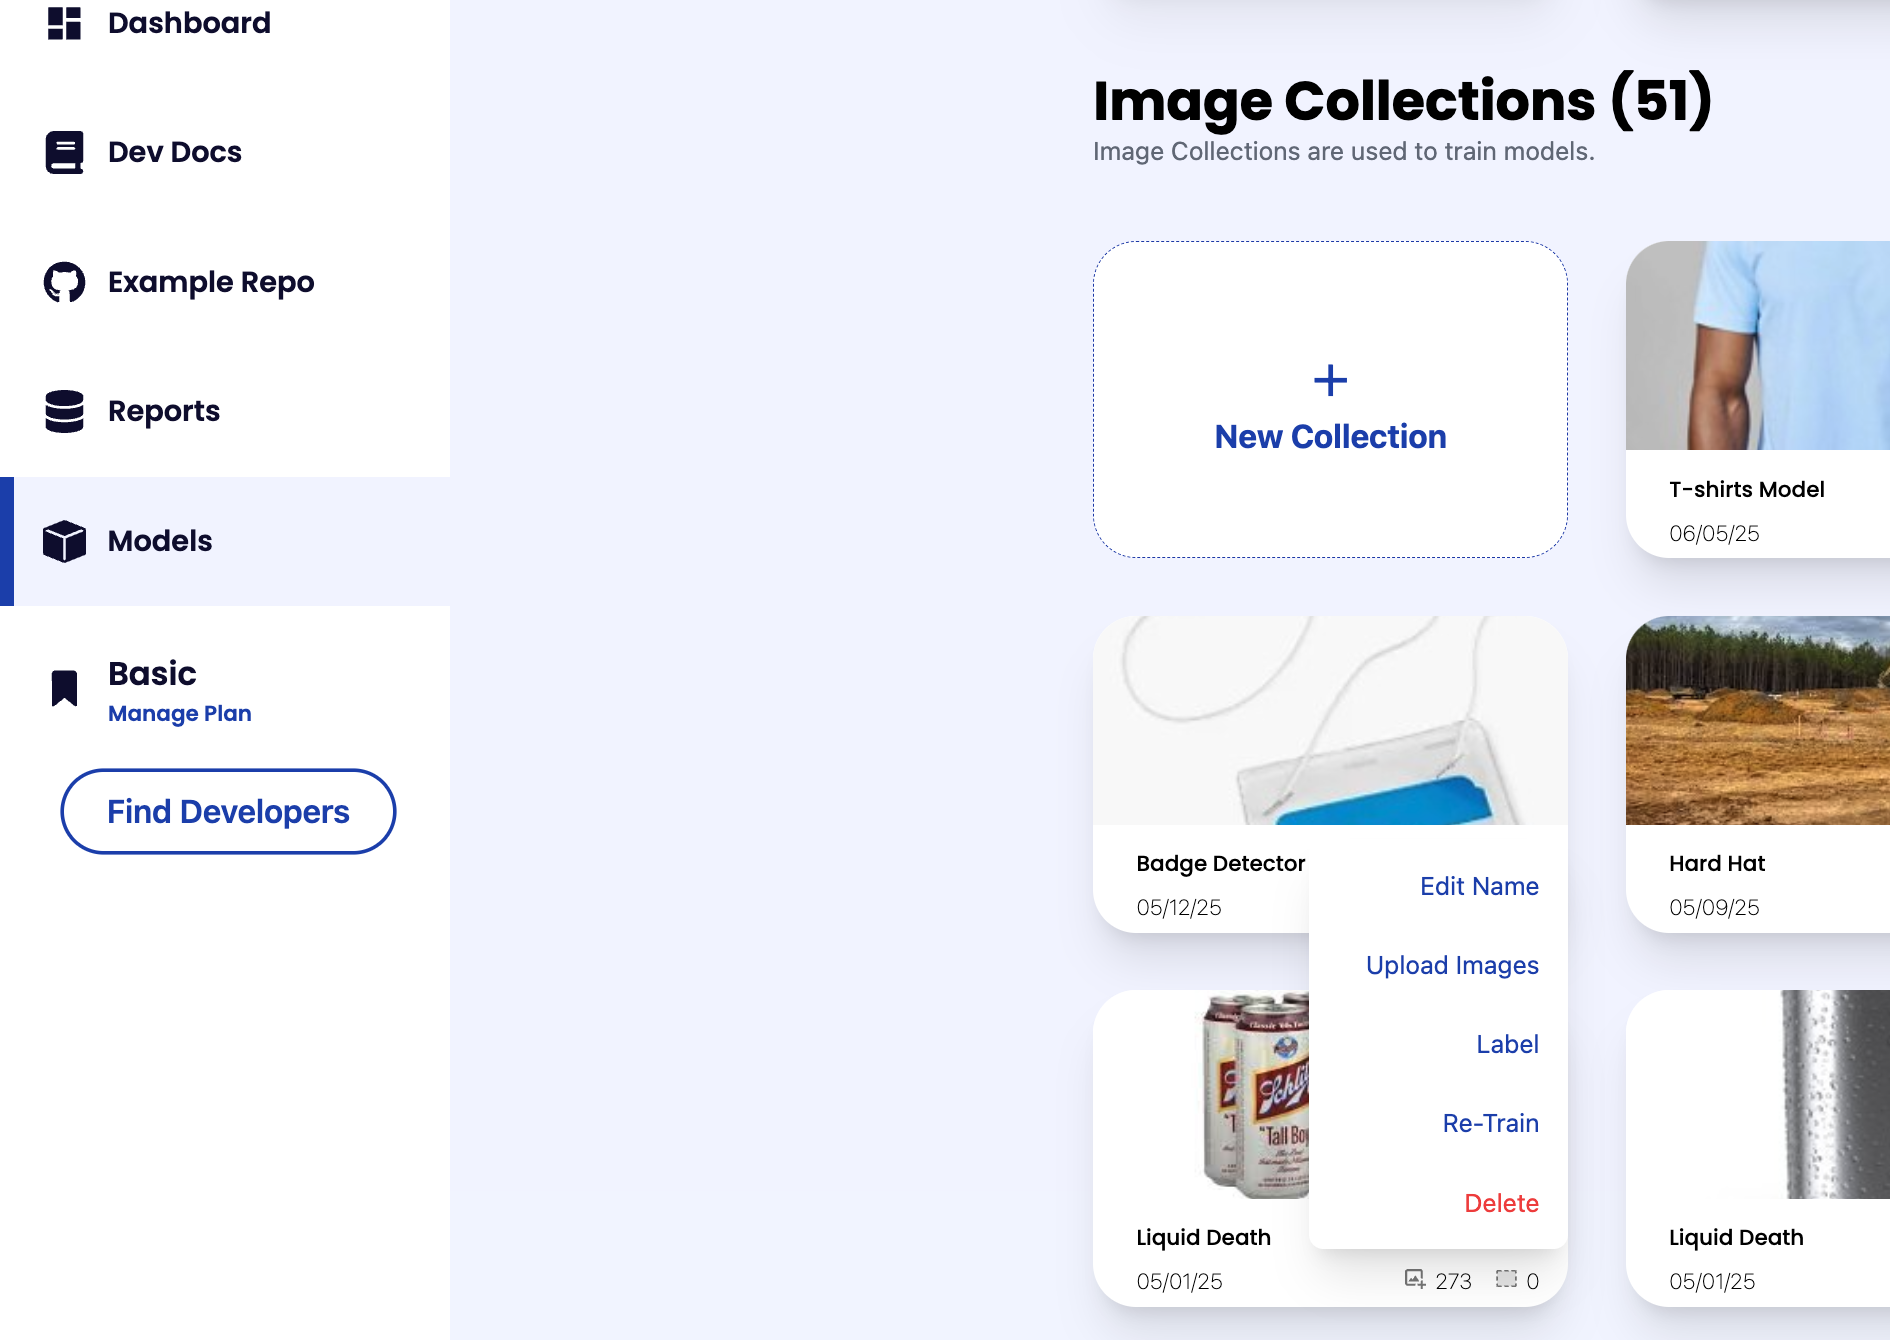
* Go to **My Models** in the sidebar
* Open your model
* Continue to the upload step of the wizard
4. **Upload the negative images**
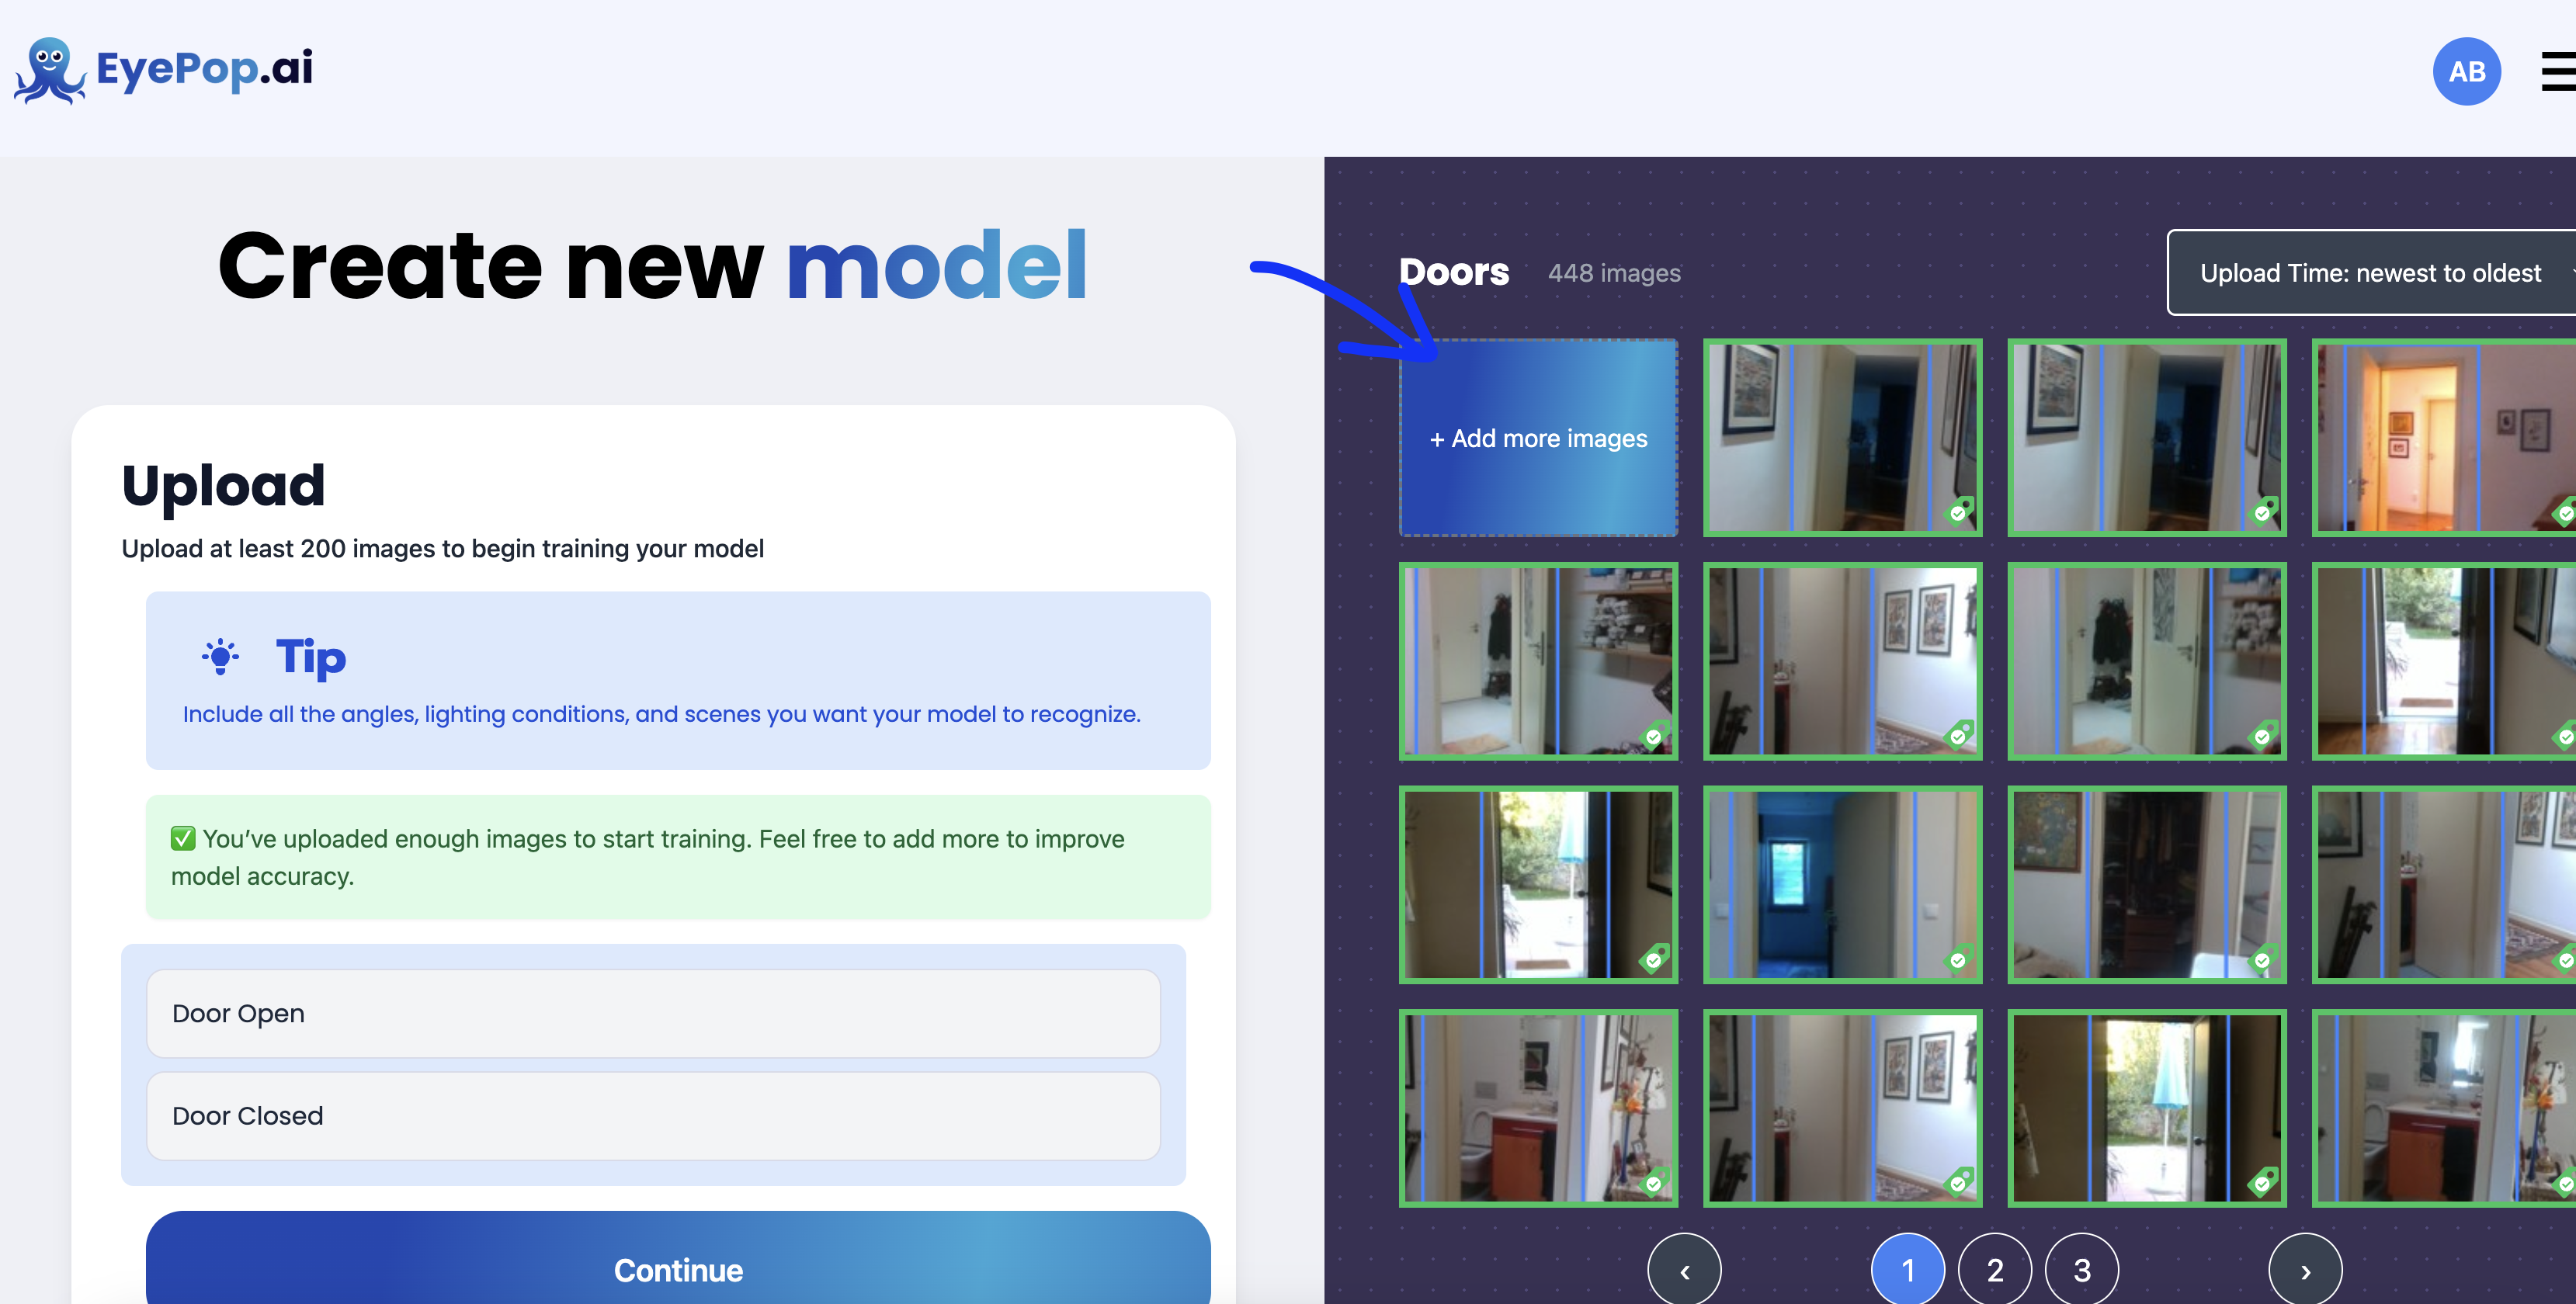
* On the upload screen, locate the **+ Add more images** tile
* **Drag and drop or upload** your negative images onto this tile
* Approve each one during review with no boxes drawn, and it trains as a negative
#### Upload Tips:
* You can drag and drop a whole folder at once
* The upload area will accept the folder and process all images inside
### Best Practices for Negative Images
#### Quality Guidelines:
* **Similar contexts**: Use images from similar environments where your target object might appear
* **Potential confusers**: Include objects that might be mistaken for your target (like windows when training for doors)
* **Varied conditions**: Include different lighting, angles, and backgrounds
* **High quality**: Use clear, well-lit images similar to your positive examples
#### Common Mistakes to Avoid:
* Don't use completely unrelated images (random landscapes for a door model)
* Avoid low-quality or blurry negative images
* Don't include images that partially show your target object
### Recommended Dataset Ratios
| Dataset Size | Positive Images | Negative Images | Ratio |
| ------------ | --------------- | --------------- | ----- |
| 200 images | 160 images | 40 images | 80/20 |
| 500 images | 400 images | 100 images | 80/20 |
| 1000 images | 800 images | 200 images | 80/20 |
| 2000+ images | 1600+ images | 400+ images | 80/20 |
### Frequently Asked Questions
#### Q: How do I upload negative images?
**A:** Gather images that don't contain your target object. Go to **My Models** → open your model → on the upload step, drag and drop them onto the **+ Add more images** tile. Approve each one during review with no boxes drawn, and it trains as a negative.
#### Q: What should negative images contain?
**A:** Images that are similar to where your target object appears, but without the target object itself. For example, if training a door model, include images of windows, archways, or wall sections that might be confused for doors.
#### Q: How many negative images do I need?
**A:** Start with about 20% of your total dataset as negative images. For a 200-image dataset, use approximately 40 negative images.
#### Q: Can I add negative images after initial training?
**A:** Yes, you can upload additional negative images to improve your model's performance and reduce false positives.
***